Ad by google

Monday, 21 September 2020

Buckwheat Noodles ( Another Method)

 Buckwheat belongs to a group of food, commonly called "Pseudo Cereal", Pseudo cereals are seeds that look like cereal grains, but doesn't grow on grass. Other pseudo cereal include quinoa, Amarnath.

Buckwheat is rich in antioxidants when compared to other grains like oats, barley and wheat. Buckwheat also helps to control your blood sugar and promote heart health.

I have already shared one way of cooking buckwheat noodles . Please click here for that recipe. 

Here is another way to cook it. 


Preparation Time:  10 minutes

Cooking Time: 15 minutes

INGREDIENTS:

Buckwheat Noodles - 200 gms

Veggies - 1 cup( I used carrot, soy beans and broccoli)

Garlic pods - 3 to 4 

Peanuts - 2 tablespoon

Soy sauce - 1.5 to 2 tablespoon

Black pepper powder - 1 teaspoon

Green or fresh red chili - 1 no ( optional)

Olive Oil - 2 tablespoon

METHOD:

1. In a large pan, boil water . Add 200 gms of buckwheat noodles . Keep the flame in medium, and cook for 6 to 7 minutes. Not more than that. Filter all the water and wash in cold water to stop further cooking.

2. In a pan, dry roast peanuts. Grind them in to a coarse powder. Do not make it to a fine powder.

3.  In a wok, add olive oil. Add chopped garlic and chilies. Then add the veggies. I used carrot, soybean and broccoli. Stir fry for sometime. Add some salt. Sprinkle some water and cover it and cook till the veggies are 3/4 th cooked .Then add, soya sauce, black pepper powder . Fry for 2 minutes.

4.  Now add cooked buckwheat noodles and mix gently. Add required salt if needed. Now add the crushed peanut powder which you prepared in step 2. 

5. Buckwheat noodles taste better, when served hot.


Saturday, 19 September 2020

Pasta in Tomato Basil Sauce

 My son loves the flavor of basil leaves and very fond of pesto sauce pasta. So , I wanted to a try a combination of tomato and basil leaves, that gives the tanginess of tomato and also the flavor of basil leaves. The tomato basil sauce was an instant success and was very tasty and my son loved it a lot. Am sharing the recipe below. You can give it as lunch box food for your kid. 


Preparation Time: 10 minutes

Cooking Time: 25 minutes

Serves: 2 to 3 people


INGREDIENTS:

Penne Pasta - 2.5 cups ( 1 cup = 240 ml)

Basil leaves - 2 to 3 cups ( Approx., 150 to 200 gms)

Tomato - 2 medium sized

Garlic pods - 2 to 3 no.s

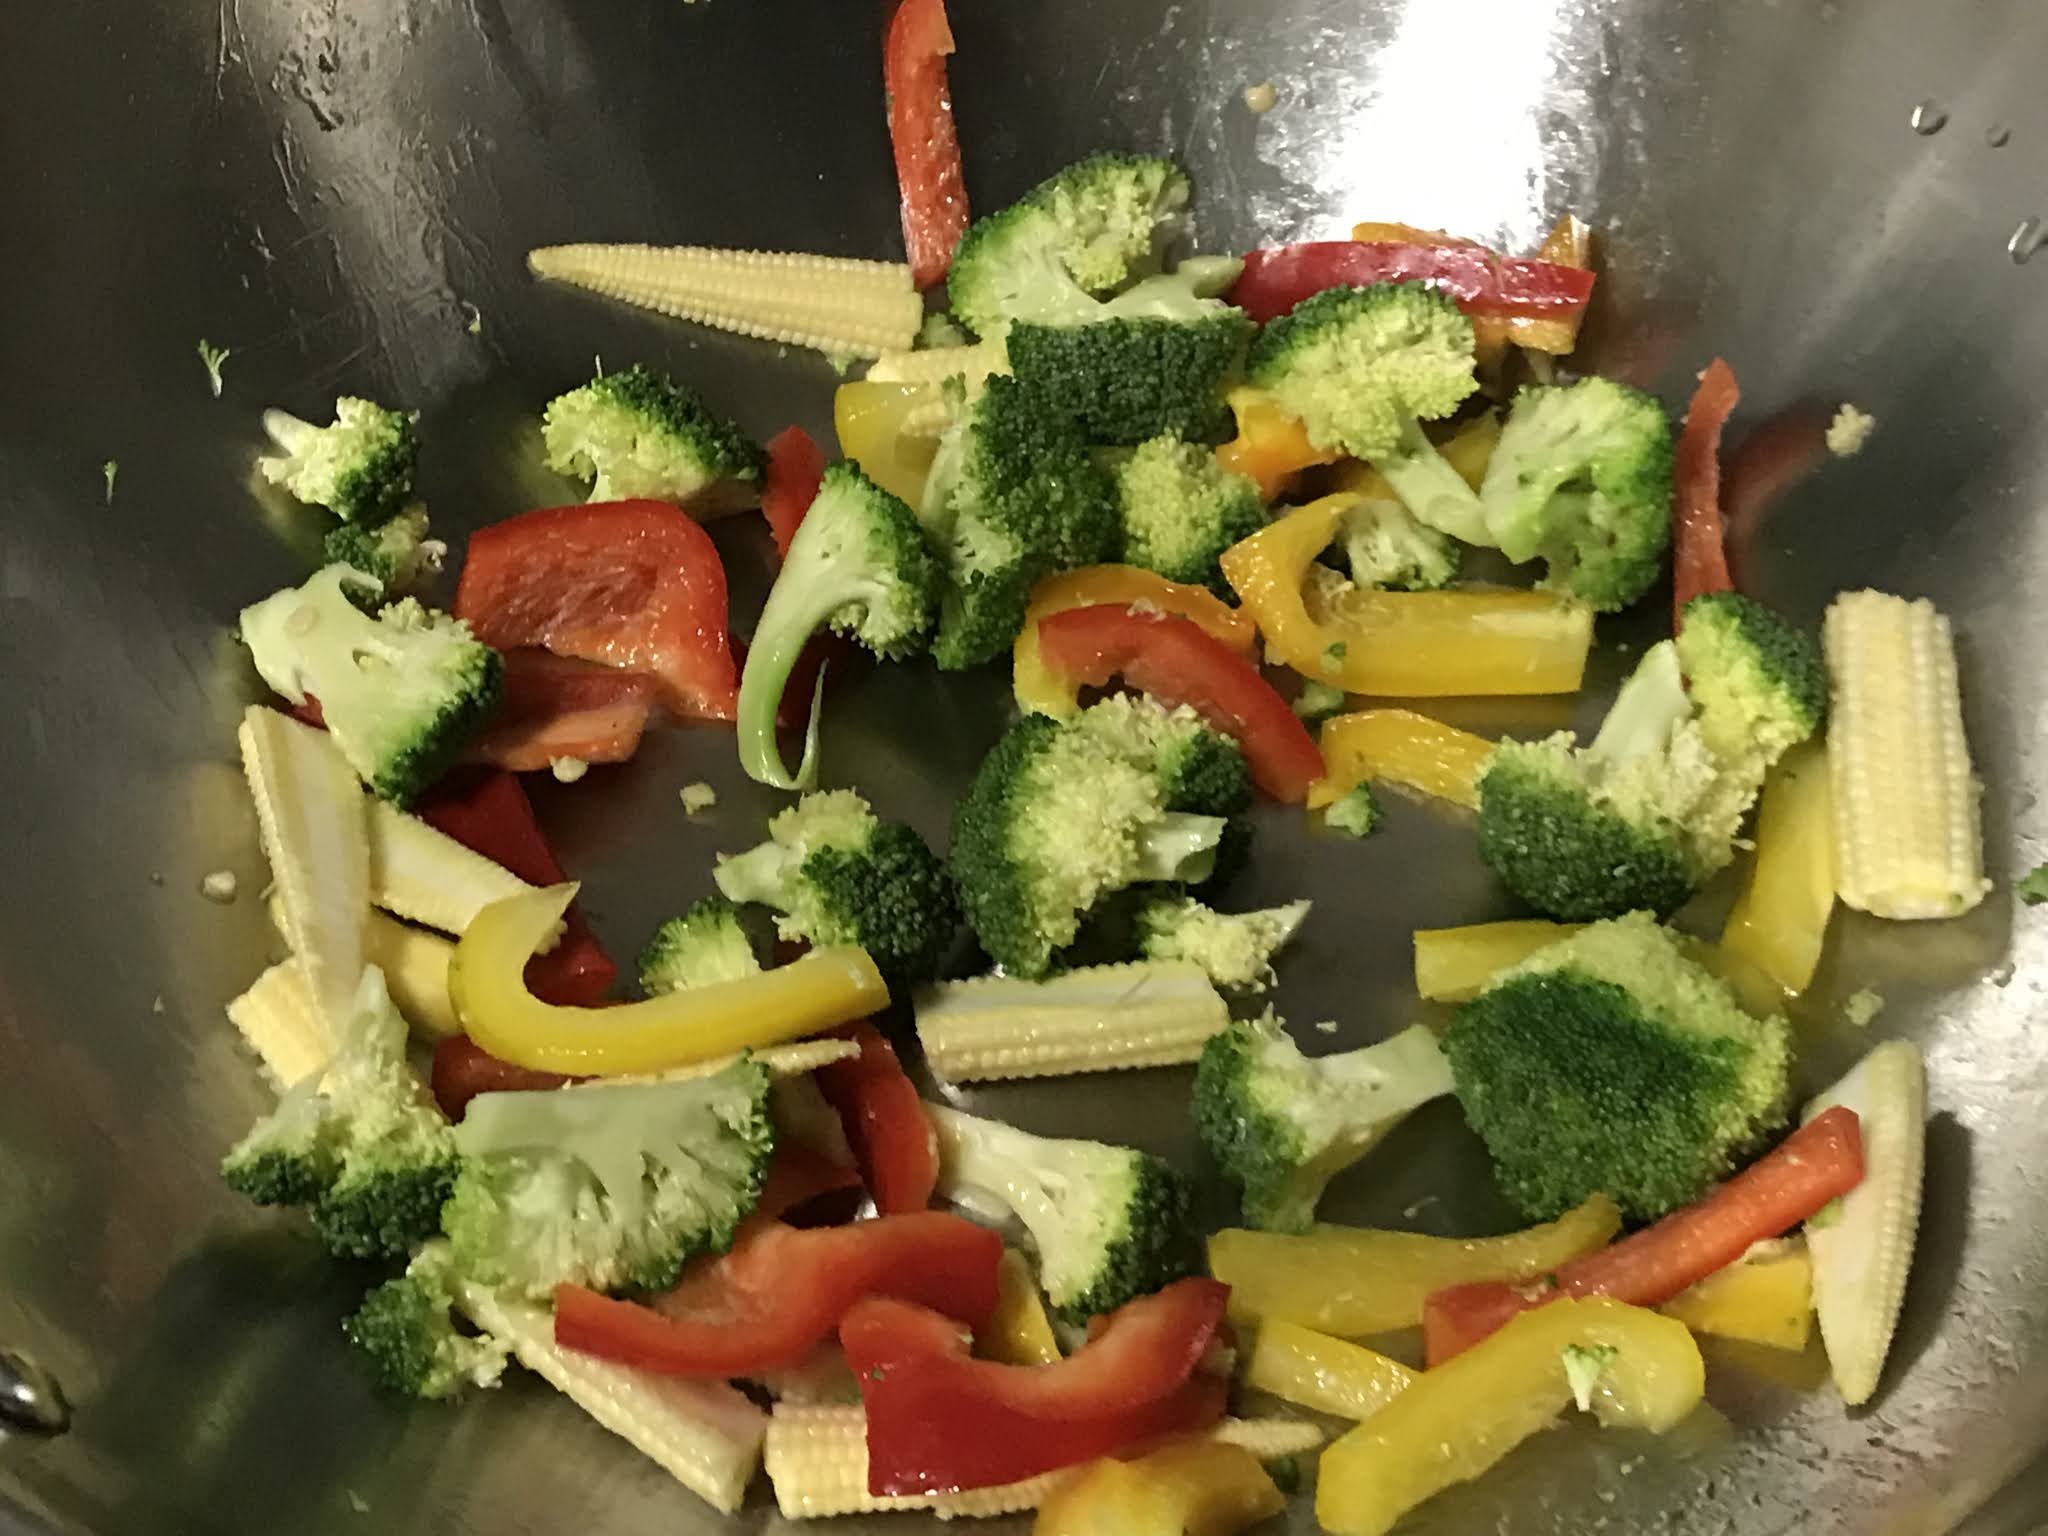
Veggies - 2 cup( I used red and yellow capsicum, baby corn, broccoli)

Salt - as required

Sugar - a pinch 

Black pepper powder - 3/4 teaspoon

Italian Seasoning - 3/4 teaspoon

Olive Oil - 2 tablespoon

METHOD:

1. In a large pot, take sufficient water. Add some salt. Once it starts boiling, add  penne pasta and cook for 10 to 11 minutes. Usually, pasta cooking time will be mentioned on the package cover. Just follow that to cook. Then filter the water. Wash the cooked pasta in running cold water . Also add a teaspoon of oil and mix well. These steps, helps to prevent the cooked pasta from sticking to each other. 

2. Meanwhile, In a wok, add some olive oil . Then add garlic pods, basil leaves, chopped tomatoes. Also sprinkle some sugar and salt. Sugar, helps to retain the green color of the basil leaves. Sauté them well, till the tomatoes turn soft and mushy.

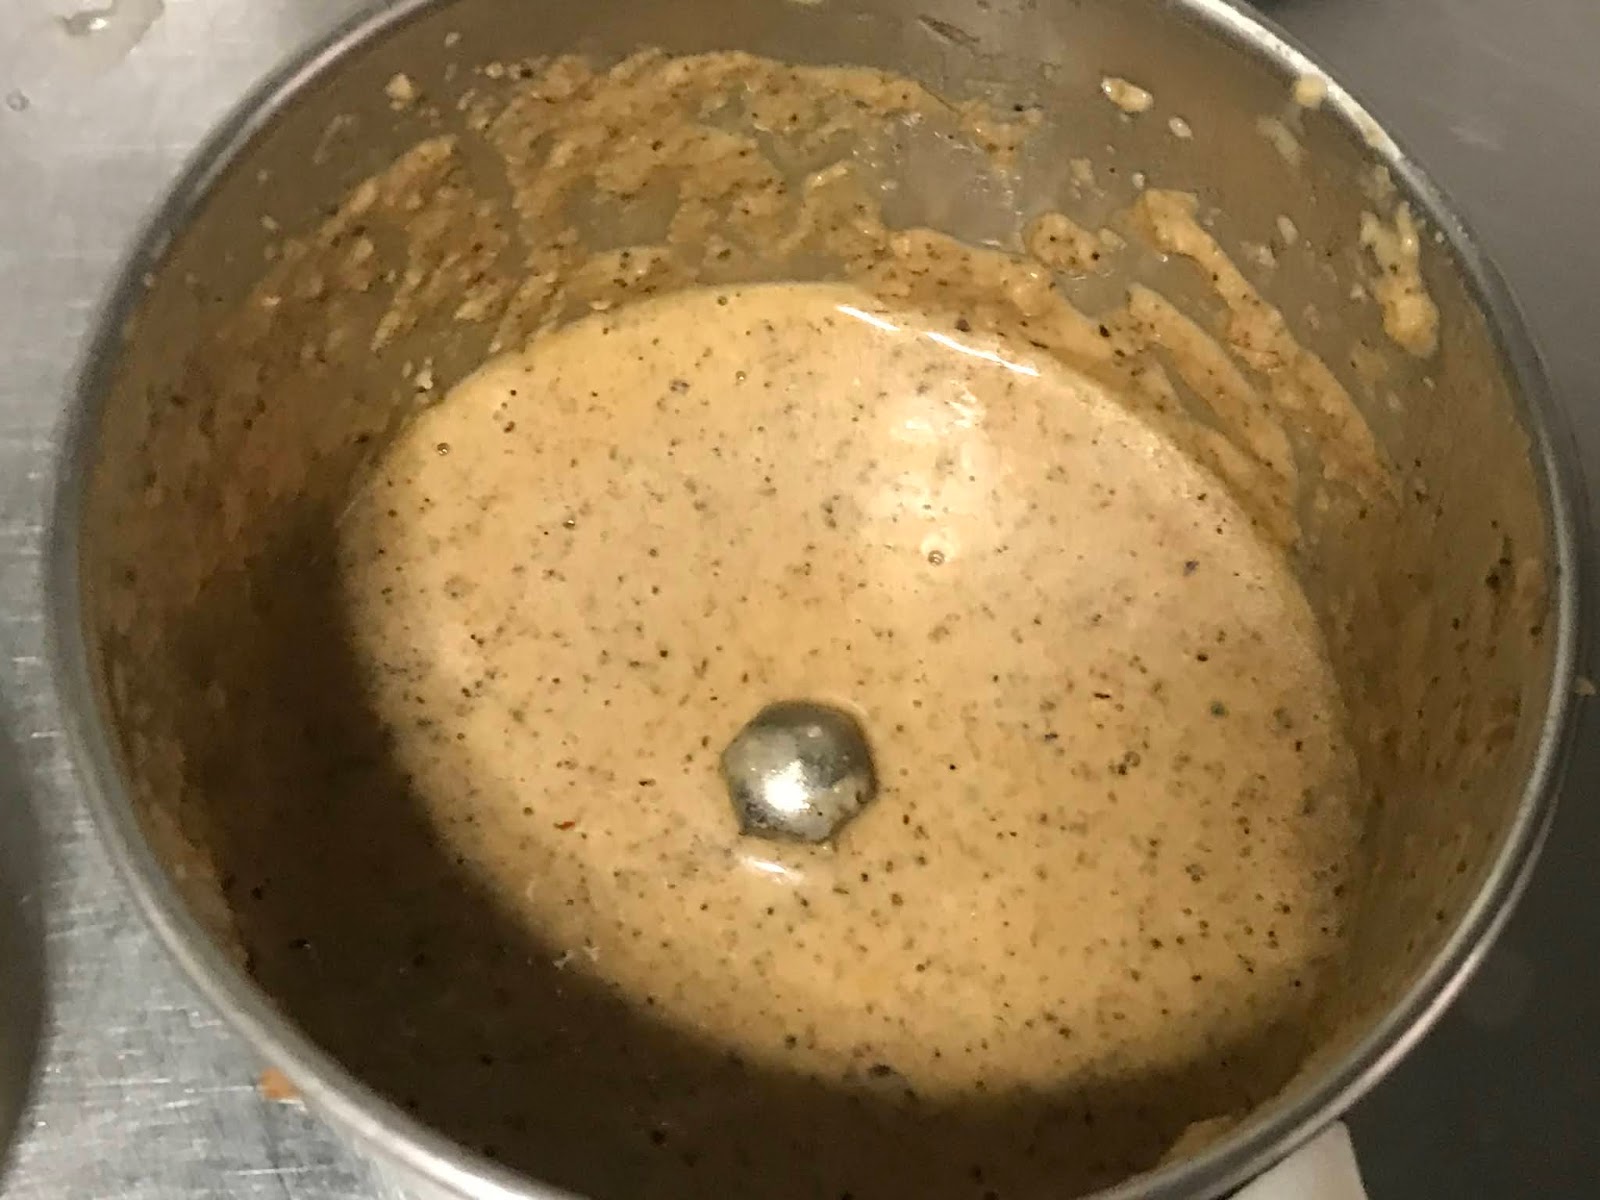
3. Allow them to cool down. Grind them to a smooth paste. 

4. Now in a wok, add some olive oil.  Now add chopped veggies. I used red and yellow capsicum , baby corn and broccoli. You can add any vegetable of your choice. 

5. Sprinkle some salt and water. Cover and cook in small flame . Please make sure they are 3/4 th cooked. No need to make the veggies too soft. The veggies should retain some crunchiness, inorder to taste better.

6. Now add the tomato basil paste, which you prepared in step 3. Mix well for 1 to 2 minutes.

7. Now add cooked pasta. Also add black pepper powder, Italian seasoning. Mix well. If you prefer cheese, You can add some shredded cheese to it. But if you are going to give this food as a lunch box menu, it is better to avoid it. Because, kids keep lunch box  usually outside and not refrigerated. Cheese may get spoiled , if stayed too long outside. So better to avoid shredded cheese. But if you are making this food, as a dinner at home, you can add shredded cheese. 


SEE ALSO:  Cheese Pasta, White Sauce Pasta, Pasta in creamy veg sauce 


Wednesday, 2 September 2020

Radish Peanut Dal

Try this tasty Radish kootu/dal with coconut,spices and peanut. It goes well with rice or rotti !


Preparation Time: 20 minutes
Cooking Time: 15 minutes

INGREDIENTS:

Radish - 2 1/2 cups chopped fine
Peanuts - 1 1/2 tablespoon
Moong Dal - 1/4 cup
Turmeric powder - 1/4 teaspoon
Salt - As required

FOR GRINDING:
Oil - 1 tsp
Coriander Seeds -  2 teaspoon
Channa Dal - 1 tablespoon
Dry red chilli - 2 no.s
Grated Coconut - 2 tablespoon
Black Pepper - 1/2 teaspoon
Cumin Seeds- 1/2 teaspoon

FOR SEASONING:
Oil - 2 teaspoon
Mustard seeds - 1 teaspoon
Urad dal -  1 teaspoon
Curry leaves - as required

METHOD:

1.  Wash radish and peel the skin and cut into small pieces. In a pressure cooker, add chopped radish, peanuts, turmeric and salt. Also add 1 cup of water and pressure cook in medium flame for 3 to 4 whistles.


2. Meanwhile, In a tawa, add some oil. Add coriander seeds,cumin seeds, black pepper, chana dal and dry red chilli and fry till they change colour. In the end, add grated coconut, and fry for 30 seconds , till they change colour. Do not over roast, as the grated coconut may get burnt.


3. Now grind the coconut and spices to a smooth paste.


4. In a pan, add some oil. Add mustard seeds, urad dal and curry leaves. Once they change color, Add the pressure cooked radish and peanuts.


5. Now add the masala paste which you prepared in step 3. Allow it to boil for 2 to 3 minutes and switch off. Radish peanut dal is ready. Serve with rice or rotti !.


Tuesday, 11 August 2020

Bombay Biryani

Bombay biryani is another version of biryani in dum style,that is cooked with lot of spices,veggies and rice in layers . When compared to traditional biryani, in this, we add prunes to give a special taste to the biryani. This is easy to make recipe in tawa . Please follow the steps ,  as mentioned below to get a tasty biryani !.


Preparation Time: 20 minutes
Cooking Time: 40 minutes
Serves: 2 people

INGREDIENTS:

FOR COOKING RICE:

Basmati Rice - 1 cup
Water - 6 cups
Cinnamon - 1 inch sized
Cardamom - 1 no
Cloves - 2 no.s
Bay leaf- 1 no
Black pepper - 1/2 teaspoon
Salt - 1 teaspoon
Oil - 1 teaspoon
Green chilli - 1 no

OTHER INGREDIENTS:

Ghee  -1 tablespoon
Oil - 1 tablespoon
Cinnmon - 1 inch
Bay leaf - 1
Cloves -2 no.s
Star anise - 1
Cumin seeds - 1 teaspoon
Fennel Seeds - 1 teaspoon
Ginger Garlic paste - 1 teaspoon
Onion - 1/2 cup chopped length wise
Tomato - 1 no chopped fine
Mixed Vegetables -2 cups ( I used carrot, potato,beans,green peas and capsicum)
Turmeric powder - 1/2 teaspoon
Kashmiri chilli powder - 3/4 teaspoon
Coriander powder - 1 teaspoon
Cumin powder - 1/2 teaspoon
Garam masala - 1 teaspoon
Prunes - 3 no.s
Salt - as required
Yogurt/Curd - 3/4 cup
Water - 1 cup
Coriander leaves - For garnishing

METHOD:

1. Soak basmati rice for 20 minutes. In a big vessel, add 6 cups of water. Add cinnamon, cloves, cardamom, bay leaf, black pepper, salt, oil and green chilli. Allow the water to boil.


2. Now add soaked and washed basmati rice. Keep the flame in medium. Let it cook for just 3 to 4 minutes. Do not allow the rice to be cooked completely. The rice should be half cooked.


3. Now filter the half cooked rice and keep it aside.


4. In a pan, add ghee and oil. Add cinnamon, cloves, cardamom, star anise, cumin, fennel seeds, bay leaf.


5. Now add onion and ginger garlic paste and fry for sometime.


6. Now add tomatoes and fry till they turn soft and mushy.


7. Now add all the vegetables. I used carrot, potato, beans, green peas, and capsicum. Saute the vegetables for some time. Sprinkle some water and keep the flame in low and cover the lid and cook for 5 minutes, till the vegetables are half cooked.


8. Now add all the spices - Turmeric, kashmiri red chilli , coriander, cumin, garam masala powders, prunes, required salt. Mix well.


9. Now add 3/4 cup of curd, 1/2 cup of water. Allow it to boil, and the gravy starts to leave oil on sides.


10. Take some gravy and keep it aside. We need to arrange rice and gravy in layers and cook it in dum style.


11. Now, in the pan, spread half of the white rice and coriander leaves . Above white rice and coriander leaves , spread remaining gravy which you taken from step 10. Above the gravy, spread the remaining white rice. Also spread some coriander leaves . Sprinkle some water above it.


12. Now spread an aluminium foil above the pan and cover with lid. Keep the flame in low, and let it cook for 20 minutes. After 15 minutes, you can open and mix it gently only once and cover and cook for another 5 minutes.


13. Bombay Biryani is ready !. Serve with onion raita !


SEE ALSO: Biryani Gravy 

Monday, 10 August 2020

Aapam without Coconut , Yeast or Baking soda

 Aapam is one of my favorite tiffin  and I would like to make variations in it , to try different versions of it. This time, I tried making aapam without coconut powder or coconut milk, yeast or baking soda.

Preparation Time: 30 minutes

Serves : 2 to 3 people

INGREDIENTS:

Any Raw Rice - 1 cup( I used Sona masoori rice)

Idli Rice / Boiled Rice - 1 cup

Whole White Urad dal - 1/2 cup

Salt - as required

Methi seeds- 1 teaspoon

Eno Fruit salt - 1 teaspoon

Sugar - 1/2 teaspoon


METHOD:

1. Soak both rice separately along with methi seeds in water , overnight. Next day, soak urad dal for two hours. 

2. Grind the rice first, along with methi seeds, with less water in to a smooth batter. Then grind urad dal in to a smooth paste. Now mix the rice and urad dal batter. Also add required salt. 

3. Allow the batter to ferment and rise up. It may take 5 to 6 hours. Once the batter rise up, add 1/2 teaspoon of sugar, and mix well. 

4. 10 to 15 minutes before making aapam, add eno fruit salt and also required water and mix well. You can see some small bubbles in the aapam , after you add Eno.  The batter should be little thinner than regular dosa batter , so that it will be easier to spread it on the aapam pan. 

5. Heat the Aapam pan, and pour the batter and rotate it , so that it spread evenly on the sides.  Pour some oil, cover and cook it. 


6. Once it is cooked, no need to flip to the other side. Serve with  peanut chutney, vegetable stew or any side dish of your choice.


SEE ALSO: Vegetable stew for aapam , white kurma, Peanut chutney

NOTES:

1. If you dont have Eno fruit salt, you can use 2 pinches of baking soda. 

2. If you like coconut flavor, after the batter ferments, you can add 1/4 cup of thin coconut milk for a slight coconut flavor. 

3. You can replace 1/2 cup of whole white urad to ---> 1/4 cup of thin poha or cooked rice & 3 tablespoon urad dal. No need to soak poha for grinding.


Monday, 27 July 2020

Banana Stem Juice

Every part of Banana is full of nutritional and health benefits. The stem of banana is considered one of the highly nutritious part of plant with amazing health benefits:

*Detoxification and Digestion
* Treating Kidney stones and UTI( Urinary Tract Infection)
* Weight loss
* Managing Cholesterol and Blood Pressure
* Healing Acidity and Gastric problems.

Try this Banana stem juice, that requires no cooking or heating !


Preparation Time: 20 minutes
 Yields: 300 to 350 ml of juice

INGREDIENTS:

Banana Stem -  1/2 of one large stem ( Approx 200 gms)
Yogurt - 150 ml
Water - 100 ml
Salt - a pinch or as required
Pepper powder - 1/4 teaspoon
Cumin powder - 1/4 teaspoon
Ginger - 1 inch sized chopped
Coriander leaves - handful

METHOD:

1. Remove the outer rings of banana stem, so that no more rings seen in the cross section.Cut them in to cubes and wash well. Mix yogurt and water in a cup. Add banana stem in to the blender. Also add little yogurt water, ginger, salt, cumin powder, pepper powder and coriander leaves.


2. Blend them. If difficult to blend, add some more yogurt water. Blend smooth.


3. Now filter the paste using a strainer. As banana stem is very fibrous, it will be difficult to drink the juice without filtering. Hence it is recommended to filter well, before drinking and remove all the fiber. Banana stem juice is ready. Serve immediately after preparation.


Saturday, 25 July 2020

Butter Cake(In Pressure Cooker)


Preparation Time: 10 minutes
Cooking Time: 60 minutes
Serves: 6- 7 pieces

INGREDIENTS:

Maida or All purpose flour - 1 1/2 cups
White sugar or powdered white sugar - 3/4 cup
Chocolate sprinkles - 1 tablespoon ( optional)
Butter - 75 gms
Milk - 255 ml ( not cold milk. Room temperature or lukewarm milk)
Baking powder- 1/2 teaspoon
Baking Soda - 1/4 teaspoon
Salt - a pinch
Vanilla Extract - 1/2 teaspoon

METHOD:

1. Take a 5.5 liter pressure cooker , remove gasket and weight. In the bottom spread about 1/2 a packet of salt. Place a plate above it. Cover the lid and keep the flame in medium. It resembles the preheat procedure of oven.


2. In a bowl, take butter and sugar. Whisk well, till it turn soft and creamy.


3. Now add 255 ml of milk. Do not add very cold milk. Add lukewarm milk to it and mix well. Also add 1/2 tsp vanilla extract. Also sieve maida, baking soda,baking powder and salt and add . Mix the contents gently . Do not mix for too long.


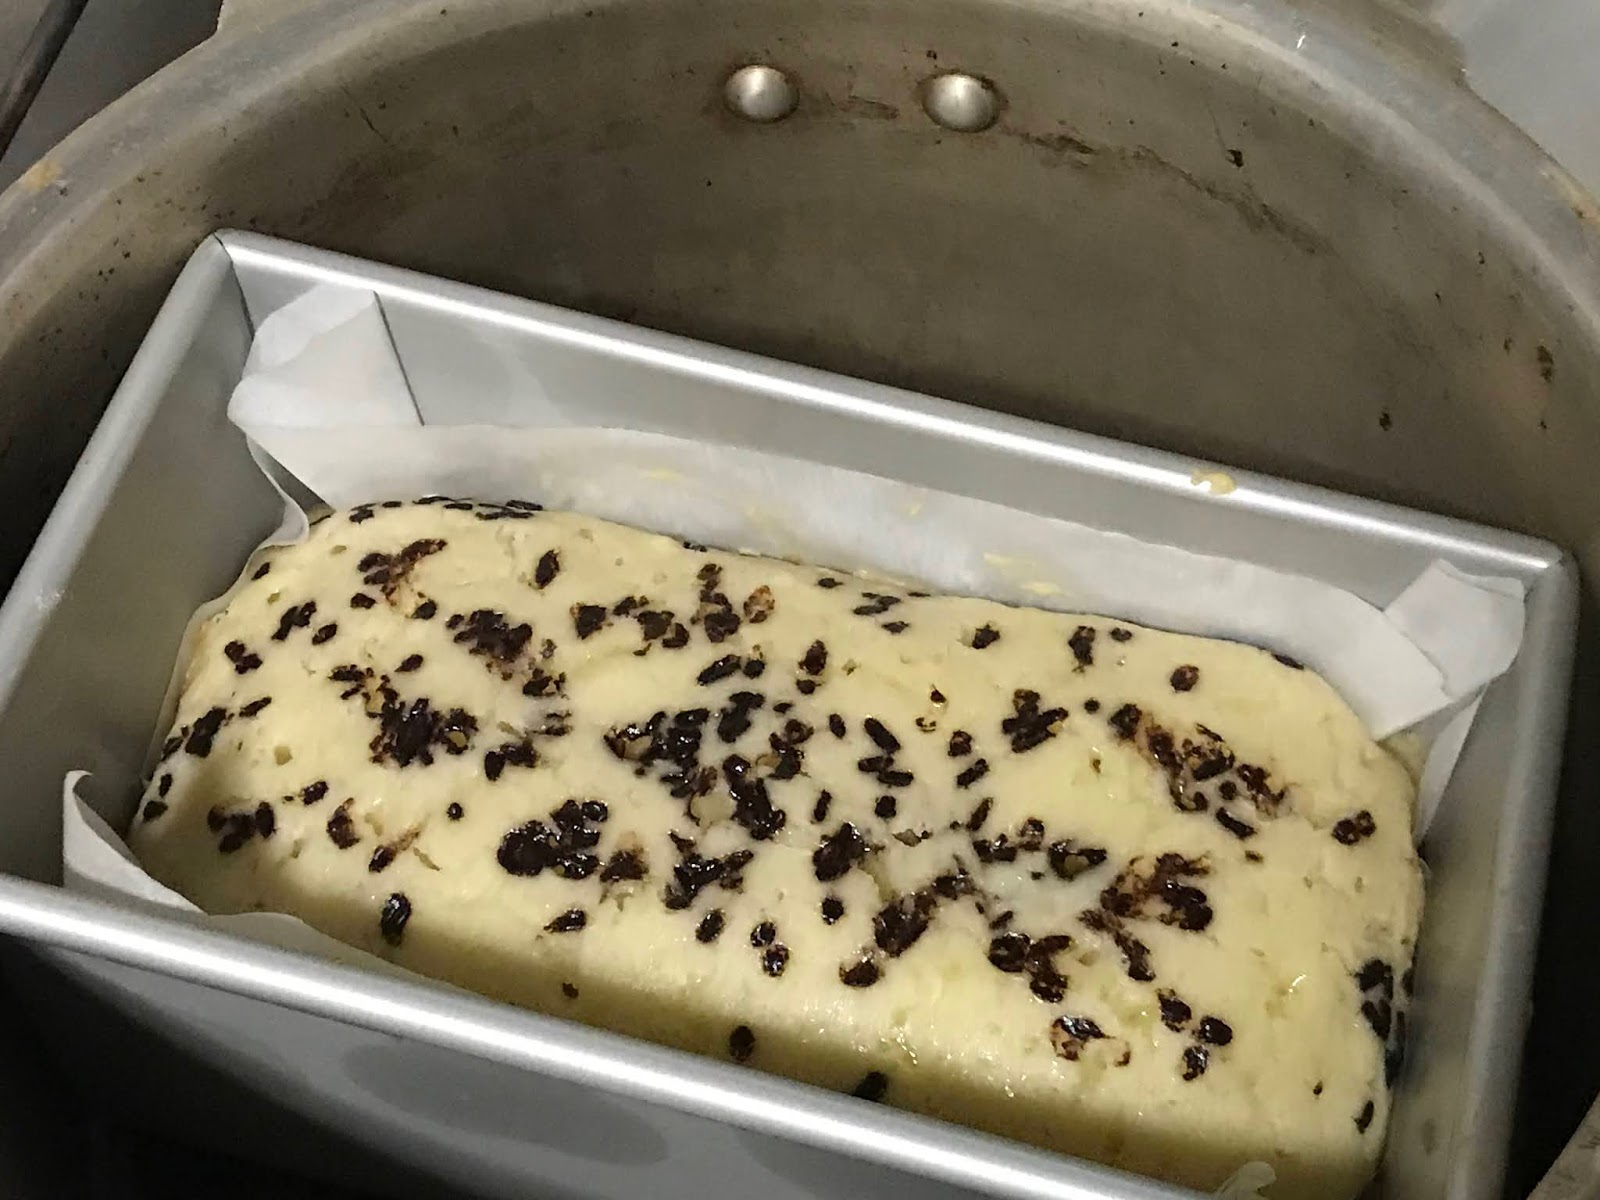
4. Take a loaf pan ( Dimensions: Length - 19 cms , Breadth : 10 cms  Height:  8 cms) . Spread baking paper on the bottom and also the sides. Spread some olive oil on the bottom and also the sides. Pour the cake batter into it and gently pat, so that the batter gets spread evenly.


5. Sprinkle some chocolate sprinkles above it. It is optional. You can omit, if you do not want.


6. Gently place the loaf pan in the pressure cooker, which has been already preheating.


7. Cover the lid and reduce the flame to sim and bake for atleast 1 hour. After 50 minutes, check with a tooth pick or any small stick, to see if the cake has been baked well. If no batter sticks to the stick, the cake is cooked completely. Also, the top of the cake will be dry and will not be moist . It indicates the cake is cooked well.


8. Gently take the loaf pan from the cooker. Allow it to rest for another 10 to 15 minutes to cool down. Then transfer the cake to a plate and remove the baking paper.


9. Once cool down, cut them in to slices. You can also refrigerate the cake and heat in microwave for 10 to 15 seconds , before serving.